Archive for the ‘what’s cooking wednesday’ Category
No-Knead Bread Rolls – No Dutch Oven Necessary
The no-knead bread phenomenon has been sweeping the Interwebs for several years now thanks to Mark Bittman, but I haven’t waded into the fun until now. For whatever reason, working with dough intimidates me, so I tend to stay away from it, but all the rave reviews of this no-knead bread had me curious. So I had to try it, which I did in September.
Um, yeah, that didn’t help my Dough Confidence Quotient whatsoever. It was an absolute and utter disaster.
They say this dough should be really sticky; mine was nearly runny after the first rise. There could have been yeast/rising issues, but I think the biggest problem was lack of flour. But everyone says, “Don’t touch the flour! You’ll ruin the delicate balance of ingredients! The measurements must be *exact*!” So I ditched the batch, hung my head in shame, and wallowed in self-pane pity.
Then in November, I visited Diana in Piemonte, and she made an absolutely perfect no-knead loaf . . . and my Bread Envy was off the charts.
So about a month ago, I picked up the flour again, probably feeling confident after making a mean batch of cinnamon rolls around Christmas time (recipe coming). I figured hey, if the dough doesn’t feel right to me (with all my Faux-Dough Authority), I’m adding flour. I don’t care what they say. Who are “they” anyway?
So extremely happy I did. I LOVE this bread, and you will too if you haven’t made it yet, I promise.
It forms a wonderful crisp crust on the outside but is chewy and light on the inside. Simple and perfect — and the best part is, it’s easy as all get out (once you figure out whether you need to make adjustments for your humidity/altitude).
I do believe the ridiculously high winter humidity here simply requires the use of a bit more flour in this recipe. I’ll probably be OK with the given proportions come summer when the air is dry, but hey, we’ll cross that wheat field when we come to it.
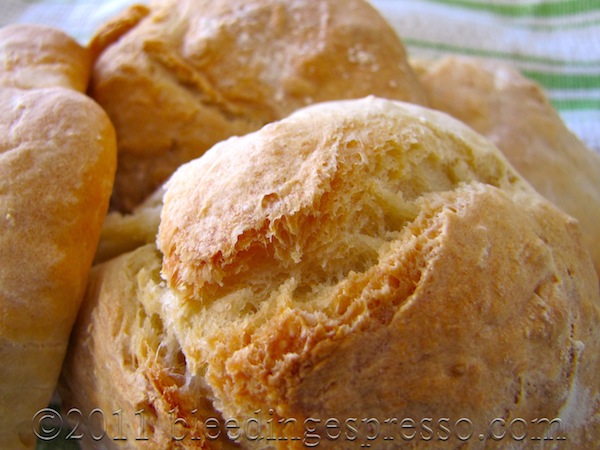
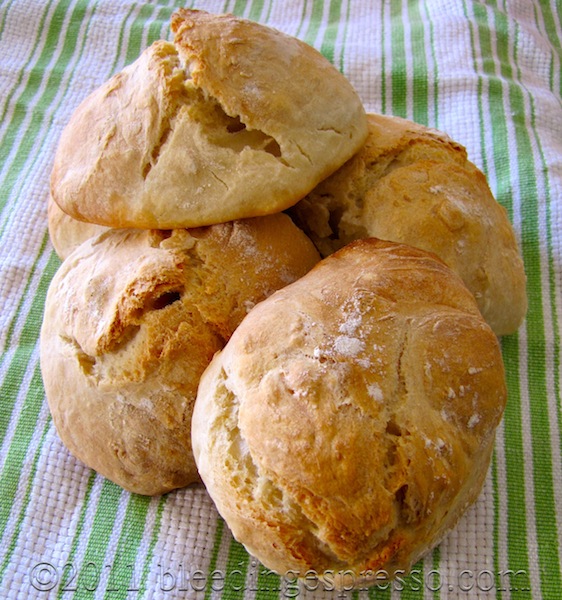
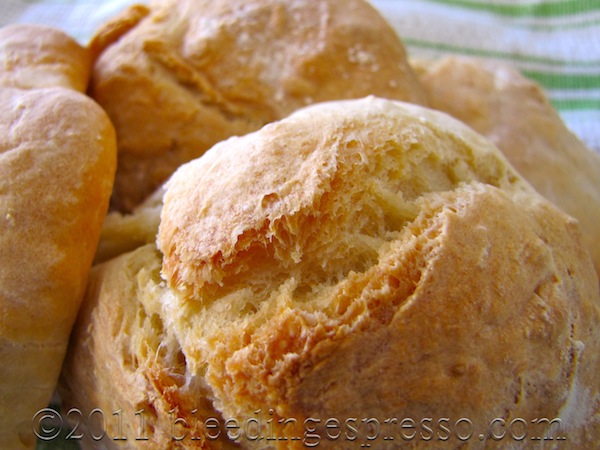
The reason I’m posting this recipe even though you can find it absolutely everywhere, though, is because of some inspiration from the Panini Girl, who as you might have guessed from her name, decided to make little two-bite sized rolls out of this dough. I decided to give it a go by making six full-sized rolls, and they came out wonderfully — even P grabbed one while it was still warm, and he is very picky about the pane he consumes (paesano only!).
The best part about making the rolls? You don’t need a dutch oven or similar vessel for baking — just grease up a cookie sheet. Thanks so much Panini Girl for showing me the way to these no-knead bread rolls!
No-Knead Bread Rolls
(Adapted slightly from the famed recipe published in The New York Times by Jim Lahey, Sullivan Street Bakery)
- 3 cups all-purpose or bread flour (note you can play with the types of flour but make sure you know the proper substitution ratios)
- 1 1/4 teaspoons salt
- 1/4 teaspoon instant yeast
- 1 1/2 cups lukewarm water
1. Stir together flour, salt, and yeast in a medium mixing bowl, then add water. Mix together until you have a “shaggy and sticky” dough. I use a silicon spatula for this part after trying both a wooden spoon and hands. The spatula works wonderfully because you can also use it to scrape down bits that have climbed the sides of the bowl.
2. Cover the bowl with plastic wrap and let it sit for 12 to 24 hours; 18 hours is the recommended time. Seeing that it’s winter, I put mine in the unheated oven as it’s warmer in there and the most safe from drafts — we don’t have heat in the kitchen, so it’s nowhere near the ideal 78°F (25°C) for dough-rising. Generally people seem to agree that it’s great to whip this dough up in the afternoon or evening, let it sit overnight, and then bake the bread the next morning. Works for me, too.
3. The dough is ready “when its surface is dotted with bubbles.” Dust a wooden board or other work surface with flour, and put dough on it. I do recommend watching the video below so you can see what’s a normal dough consistency at this stage. Add a little more flour and fold the dough over on itself once or twice so that you’ve created a “seam” on top.
4. Put a large cotton towel nearby and dust it with flour (or cornmeal, wheat bran). Put dough on the floured spot in the towel, seam-side down. Dust again with flour before folding up the sides of the towel to cover it. The dough should now sit for another two hours or so before it’ll be ready to go in the oven.
5. Half an hour before you’ll be baking, preheat the oven to 450°F (230°C) and grease a cookie sheet with olive oil.
6. The dough is ready when it has doubled in size and no longer springs back from your touch. Divide the dough into six pieces, roughly shaped into balls and arrange them on the cookie sheet leaving at least an inch between them. They may bake together a bit, but they’re easily separated anyway so long as they’re not touching too much.
7. Place sheet in the oven and bake for about 35 to 45 minutes, until rolls are golden brown.
Buon appetito!
I’m also sharing this video for you visual folks; this helped me greatly in understanding the steps:
Have you made no-knead bread? What did you think?
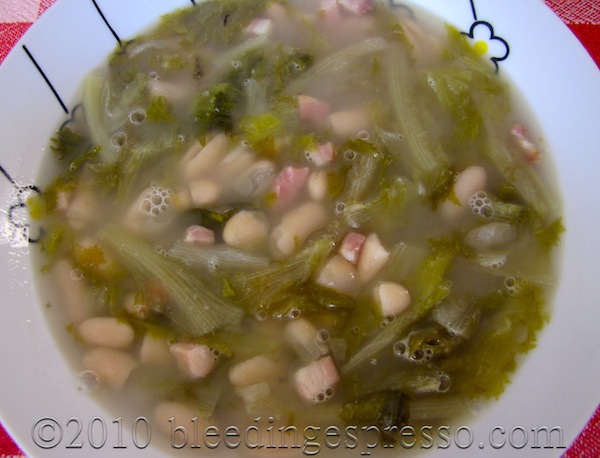
Escarole, Bean, and Pancetta Soup – Zuppa di Scarola, Fagioli e Pancetta
Last week Vince at Scordo posted a recipe for Escarole and Bean Soup. It looked tasty to me, and just as I was tucking it away in my memory, wouldn’t you know my mother-in-law gave us a bunch of escarole the next day?
I more or less stuck to Vince’s basic recipe but added some pancetta — and then P wanted some soup pasta with it so we threw that in as well (although that’s not in the photo below).
This recipe is super easy and delicious, especially if you use canned beans. As Vince mentions, your own soaked beans inevitably taste better and are less expensive, though, so give them a try sometime as well.
Overall, I have to say, if you’re looking for a hearty, warm-your-soul kind of meal, this is a wonderful choice.
Escarole, Bean, and Pancetta Soup — Zuppa di Scarola, Fagioli e Pancetta
- 3 tablespoons of olive oil
- 2 cloves of garlic, each cut in half
- 1 peperoncino, cut into a few pieces
- 40 g of pancetta, cubed
- Bunch of escarole, washed and coarsely chopped
- 2 cans of cannellini beans
- 1 liter of water
- Salt to taste
1. Heat olive oil on medium heat in a large soup pot and sautée garlic, peperoncino, and pancetta for a few minutes.
2. Add escarole and sautée until wilted, being sure to coat thoroughly with the oil mixture. Add a bit of salt as well.
3. Add water, beans, and a bit more salt. Cover, turn down heat to low, and let simmer until the escarole is done to your liking — at least 10 to 15 minutes.
4. Serve hot with fresh chunky bread; although it’s not very Italian of me, a slab of butter on the bread and then dipped in the soup just makes everything right with the world.
Buon appetito!
What’s Cooking Wednesday: Sausage and Peppers
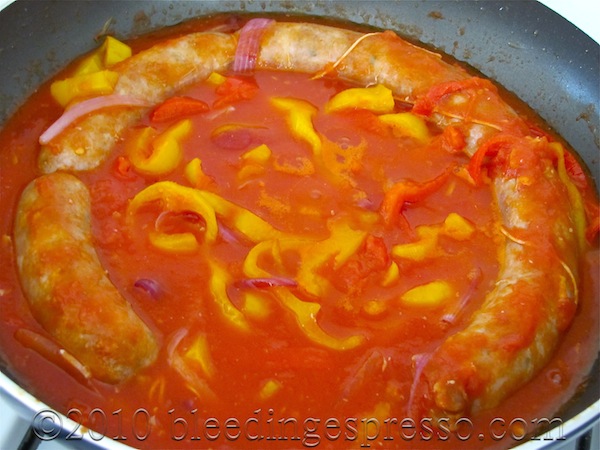
To be perfectly honest, I didn’t love sausage when I lived in the States; here in Calabria is a whole other story, though, and one of my favorite ways to prepare salsiccia is with peppers and onions in tomato sauce.
P had never had sausage prepared this way before I came along, but it’s been one of my family’s favorites from back when my grandmother made it — and it has quickly become one of P’s favorites as well.
And you want to talk about easy? There are only five steps!
A couple notes before we dig in:
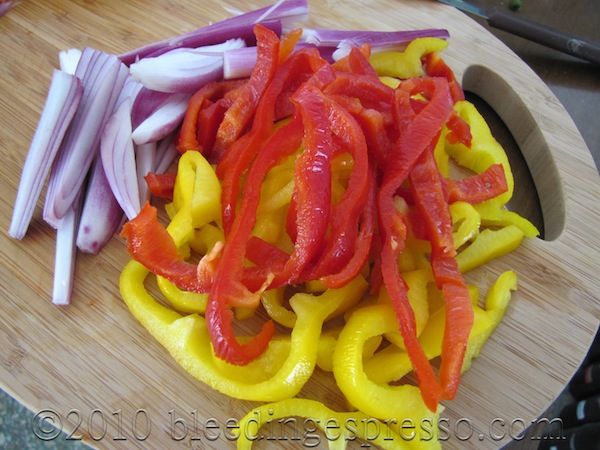
I prefer using sweet sausage, red onion, and red and yellow peppers:
You are, of course, welcome to play with various combinations that may include spicy sausage and green peppers. Here our sweet (“dolce”) sausage tends to have a little kick with peperoncino, so don’t be afraid to add a little hot pepper even if you’re using sweet sausage; mostly it will just heighten flavors if you don’t use too much.
Also, I like to make extra sausage and sauce so we can have it with pasta the next day — the first day we usually do the sausage and peppers on hard rolls (sausage and pepper hoagies for those of you who know what a hoagie is). This is why I use two cans of tomato sauce; if you only want to use this for one meal, one can is probably plenty. This is definitely one of those sauces, though, that tastes even better the next day, so I highly encourage making enough for leftovers.
Sausage and Peppers
- Sausage links
- 1 tablespoon olive oil
- 2 large or 3 medium peppers, julienned
- 1 large onion, julienned
- 1 large clove of garlic cut in half
- 2 cans of tomatoes/tomato sauce
- Salt to taste
1. In a large nonstick pan on medium to high heat, brown sausage (about 10-15 minutes).
2. Remove sausage from pan and set aside. Turn down the heat a bit and add the olive oil, peppers, onion, and garlic. Saute until peppers and onions soften, at least five minutes.
3. Return sausage to pan and add tomato sauce, using about a quarter cup of water to rinse out the can (add that water to the pan as well). Add salt as desired.
4. Cover and let simmer, stirring occasionally, until tomato sauce tastes ready to you. This will take at least 15-20 minutes, but could take longer depending on your tastes. If you like a thicker sauce, be sure to take the lid off the pan at some point, which I do after about 15 minutes.
5. Serve sausage on hard rolls with plenty of sauce, peppers, and onions *or* serve with pasta (we prefer penne with this).
Buon appetito!
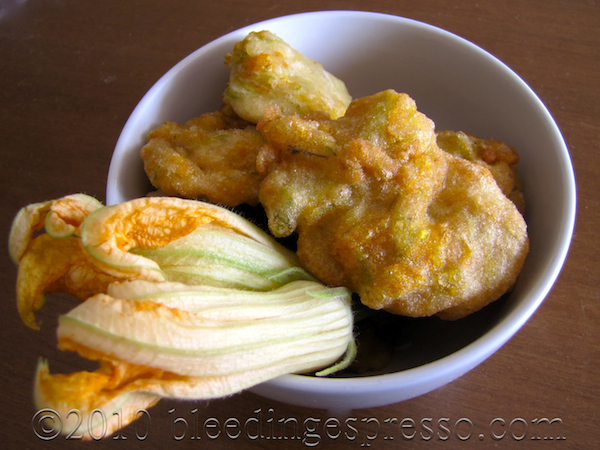
Zucchini Flower Fritters – Frittelle di Fiori di Zucca
Longtime readers might remember my zucchini flowers stuffed with ricotta, spinach, and prosciutto crudo as well as fried zucchini flowers.
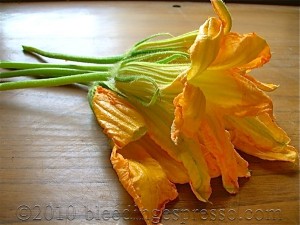
Well this time when I picked up some zucchini flowers at the market, P asked if I would make some fritters, which is the usual way they’re made in this area of Calabria.
P’s aunt has made them for us many times, but I had never asked for the recipe or technique. As luck would have it, the day I bought the flowers, she happened to be walking by the house when I took the dogs out for their lunchtime walk.
The recipe she gave me on the spot is below; of course there are no measurements, but I have faith in you!
Seriously if you’re afraid of working with zucchini flowers, it’s time to conquer the fear. I was right there with you, but these fritters are amazingly simple and delicious. Enjoy!
Zucchini Flower Fritters – Frittelle di Fiori di Zucca
- Bunch of zucchini flowers
- Flour
- Water
- Pinch of baking soda
- A few pinches of salt
- Oil for frying
1. Clean the zucchini flowers by snapping out the stamens (assuming you have male flowers, the ones attached to stems).
2. Chop roughly into pieces and place in boiling water for about a minute.
3. Remove with a slotted spoon and set aside.
4. Mix together flour, water, some salt, and a pinch of baking soda so that you get the consistency of pancake batter. Fold in the flowers. This part, by the way, is completely up to your tastes. When P’s aunt makes them, to be honest, I don’t taste much of the flowers because there’s so much, well, flour. I like mine bursting with zucchini flower flavor — they also look prettier, I think, as the flower colors show through. So use your own taste to determine how much batter to flowers you should make.
5. Heat oil for frying (I use last year’s olive oil) in a shallow pot or pan. You’ll want enough in there so the batter can sink to the bottom and then have a little way to rise and dance at the top, and you also don’t want your fritters crowded. The pan I used fit three fritters at a time. Zia also told me to throw in a pinch of salt when ready to fry.
6. When the oil is hot, take a large spoonful of batter and drop it in. As mentioned above, it will sink at first but then rise as it fries. Turn them a bit until you see all sides are browned, remove with a slotted spoon, and place on paper towels to drain.
Buon appetito!
How to Store Fresh Cut Basil
As we’re at the height of basil season here, I thought I’d share with you my method for how to keep basil fresh after it has been cut from the plant.
I’ve tried all kinds of ways over the years, and this is what I have found works best:
1. Wrap the stems in a damp paper towel.
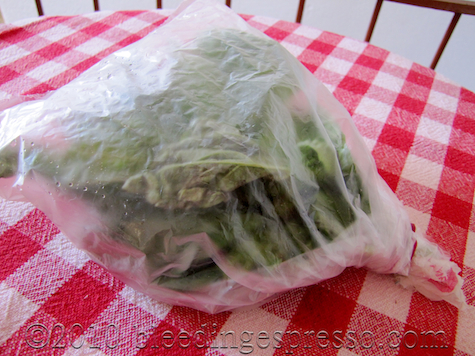
2. Put a plastic bag over the unwashed leaves and secure with a rubber band at the base.
3. Place the basil in the refrigerator.
4. Pluck off leaves as you need them, washing just before use.
With this method, I have kept basil fresh for up to two weeks in the refrigerator, but you do want to keep an eye on it if you’re not using it immediately. Be sure to re-wet the paper towel when it’s going dry and also remove any leaves that are turning black and/or slimy; they will get moldy if left in there too long.
If you still aren’t using your basil quickly enough before it goes off, wash and pat dry the basil then tear off the leaves and pop them in a freezer bag. The leaves won’t be great for something like a Caprese Salad once they’re thawed, but they’ll still add great basil taste to soups and dishes like our Borlotti Beans alla Calabrese — and they do retain excellent flavor for about four to six months.
What are your favorite food storage tips?

